
What is Shrinkies shrink art?
How to do Shrinky Dinks and what is Shrink Art? It is a polystyrene plastic sheet that is designed to shrink to less than half its original size whilst still retaining the same shape and colour. It is sometimes called shrink film, shrinkies, polyshrink, or shrinky dinks. Our finished shrink art product provides a shiny, durable finish that will last for years. With adult supervision, shrink art is suitable for kids 5 – 85 years old!
Where to buy Shrink Art shrinkies
At Kidsplay Crafts you can buy online or purchase from our warehouse by appointment. We ship Australia Wide within 24 to 48 hour. Express Shipping can be arrange for a small additional charge. We have both plain and printed Shrinky Dink sheets available and even have split rings in 16mm and 25mm sizes.
Shrink Art is an easy and safe craft activity. We often get asked “How do you do shrink art” or “What is shrink art?”. Here’s everything explained.
How to do Shrink Art, Like Shrinky dinks
Step One:
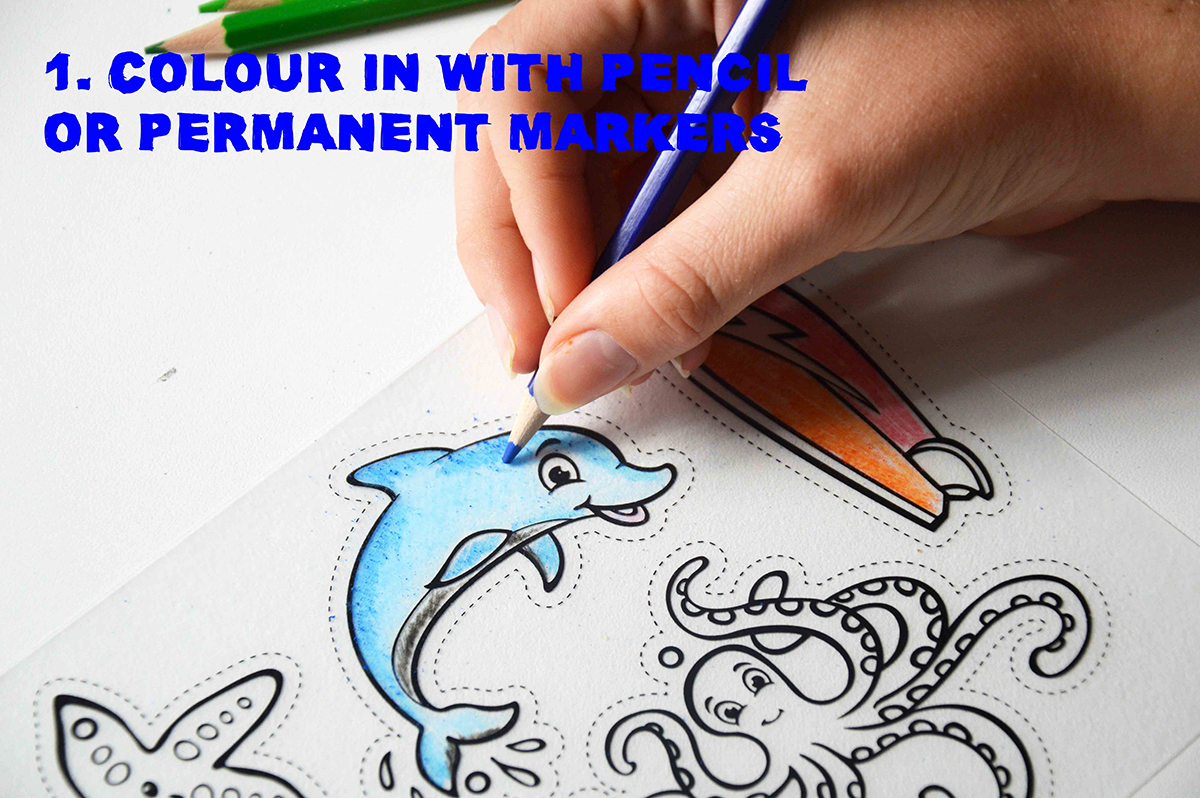
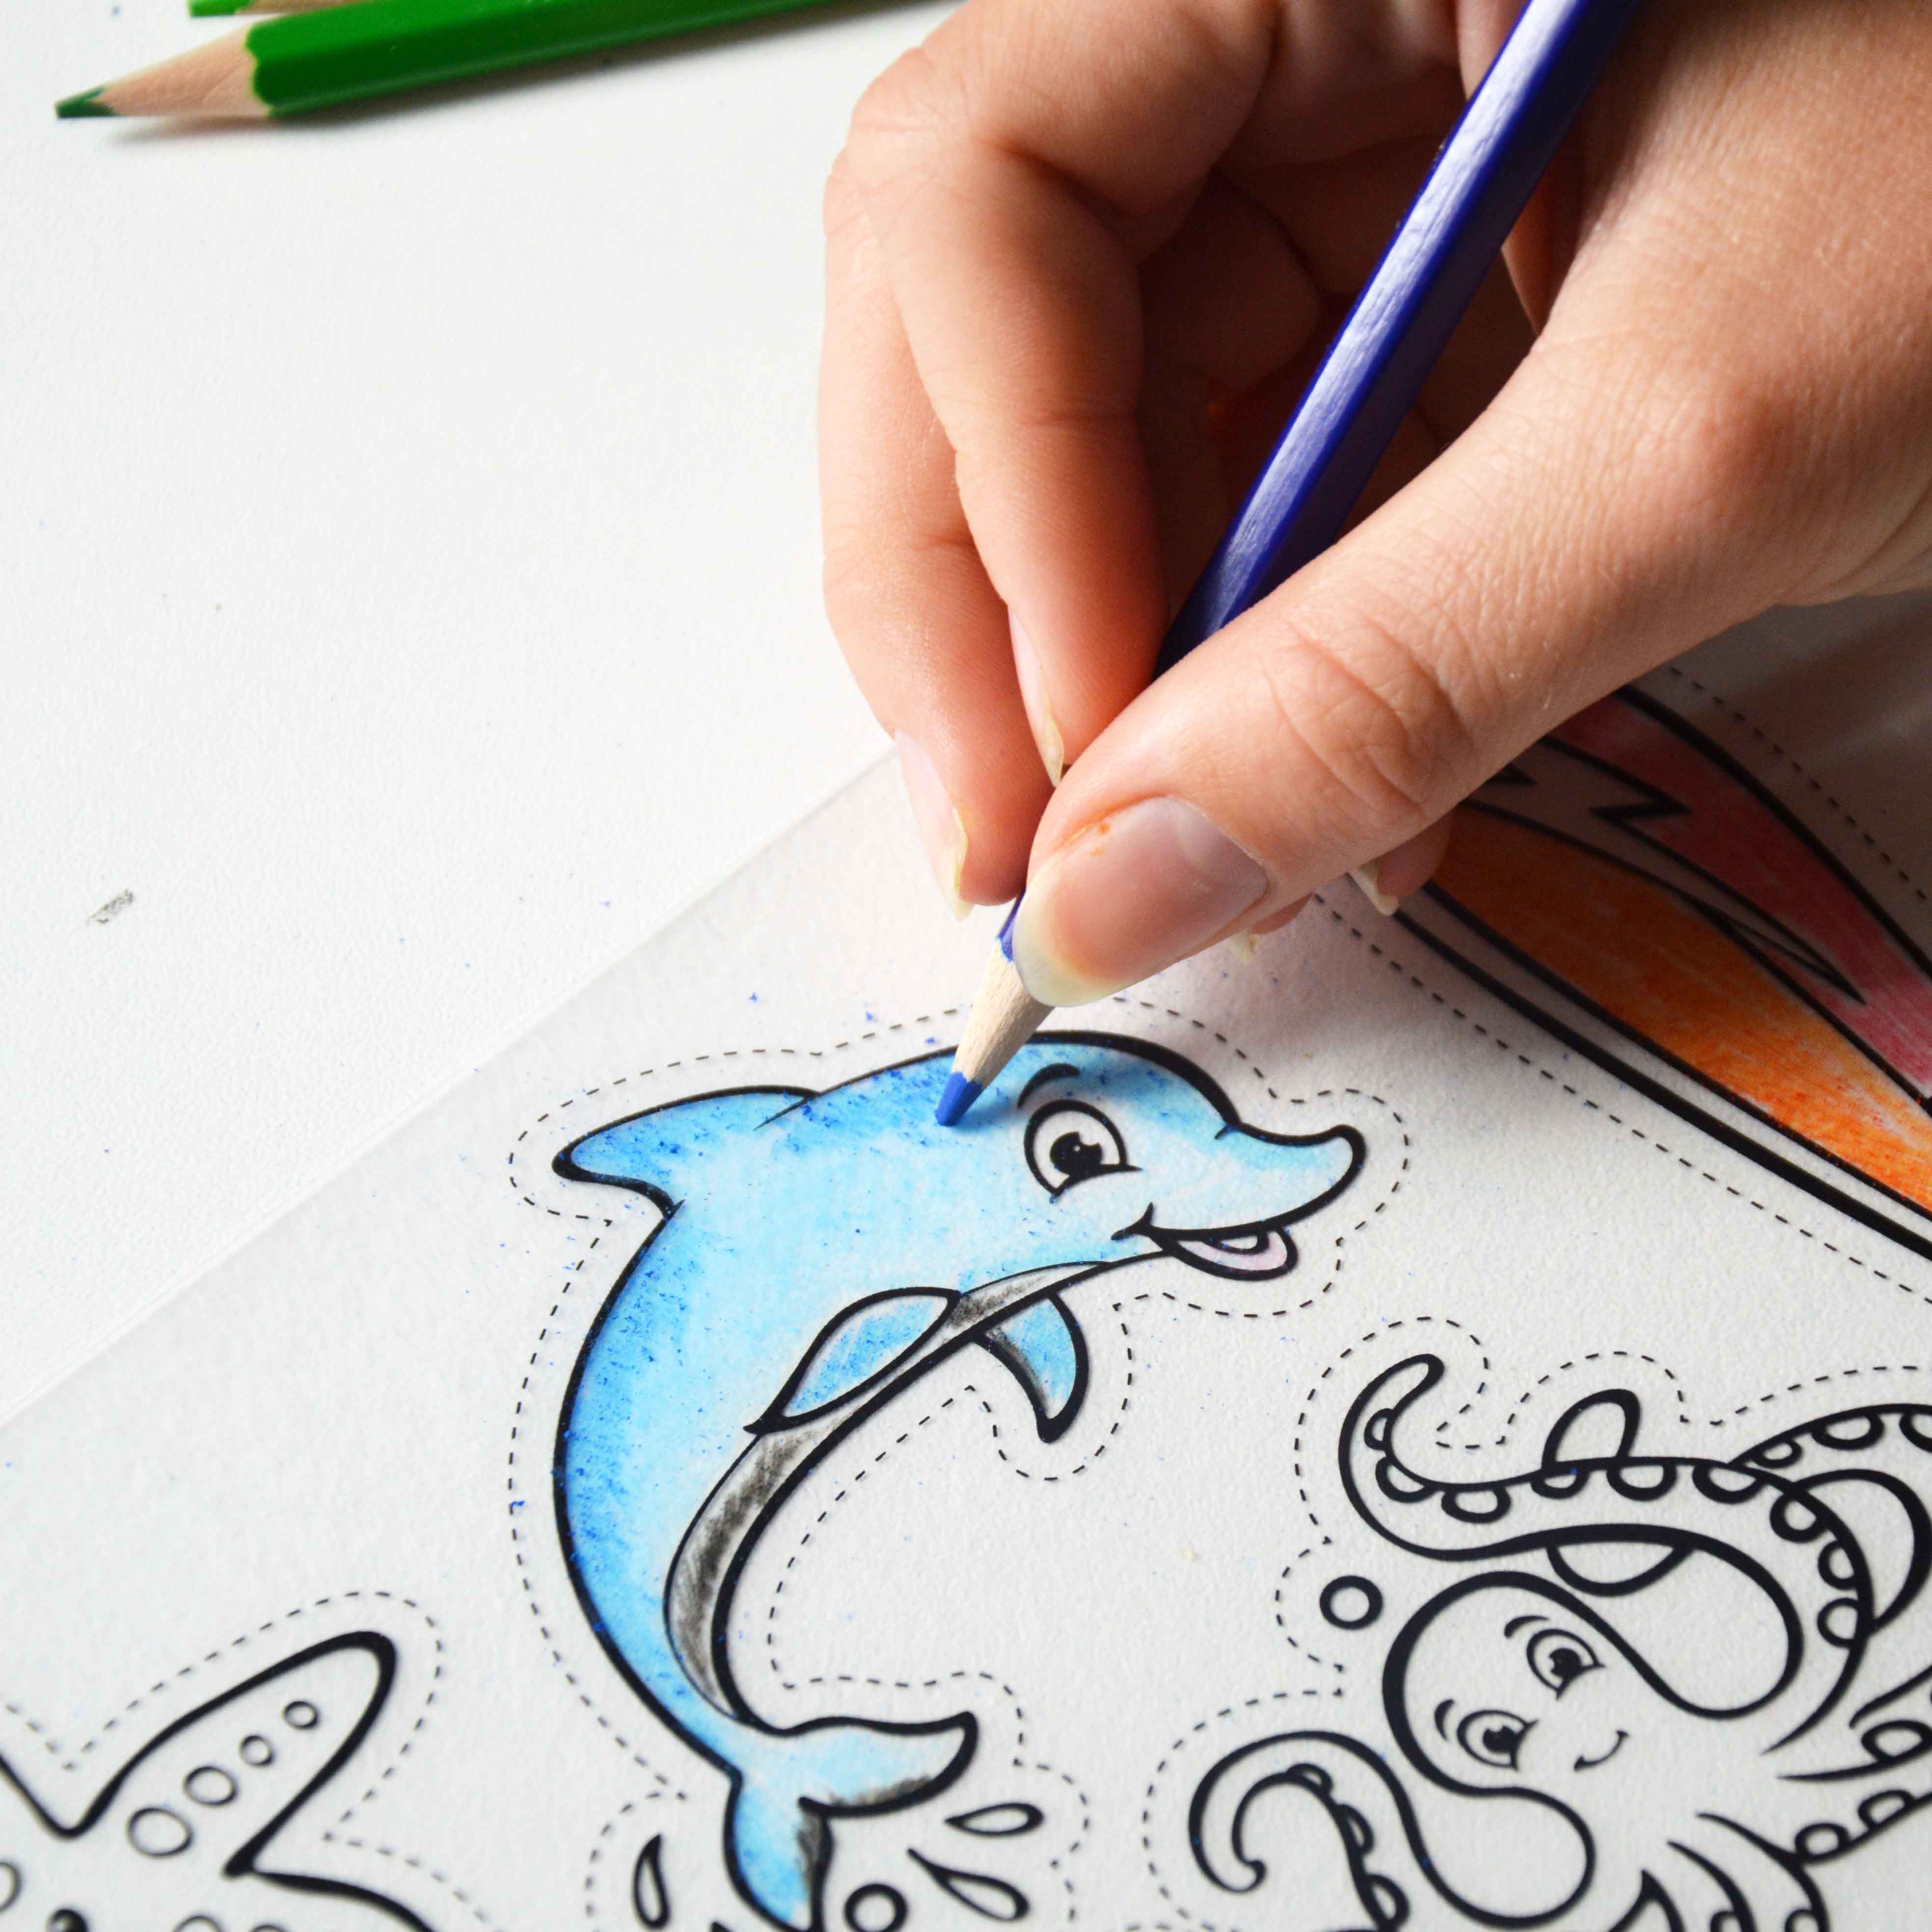
How to do Shrinkie Dinks. First place on a flat surface with rough side up. Either trace or draw freehand your favourite pictures or images on to the plastic using good quality pencils or permanent markers. Do not use crayons, they may be flammable during the heating process! Draw the outline in black, before colouring the rest of the artwork in. Use of shading and patterns will add dimension and class to your art. For an easier and professional looking result, use Kidsplay Crafts pre-printed shrink art designs and simply colour on the design!

Step 1: Colour in with Pencils or permanent markers
Step Two:
Cut the artwork out using craft scissors. It is usually easier to cut roughly first before cutting more accurately around your artwork. The shrink art is quite strong and firm, and being patient will produce the best results.

Step 2: Cut out teh shrink art with craft scissors.
Step 3:
If turning into a key-ring, jewellery or a Christmas decoration, punch a hole for the key-ring or hook. The hole will also shrink to a perfect size. Remember – you can’t add a hole after you’ve shrunk it!

Step 3: Put a hole in your shrink art!
Step 4:
FOR ADULTS ONLY (Kids will love to watch): Place shrink art on a piece of baking paper on a metal tray. Bake at 160 degrees for 30-60 seconds. The shrink art will curl and then will then go flat when ready.
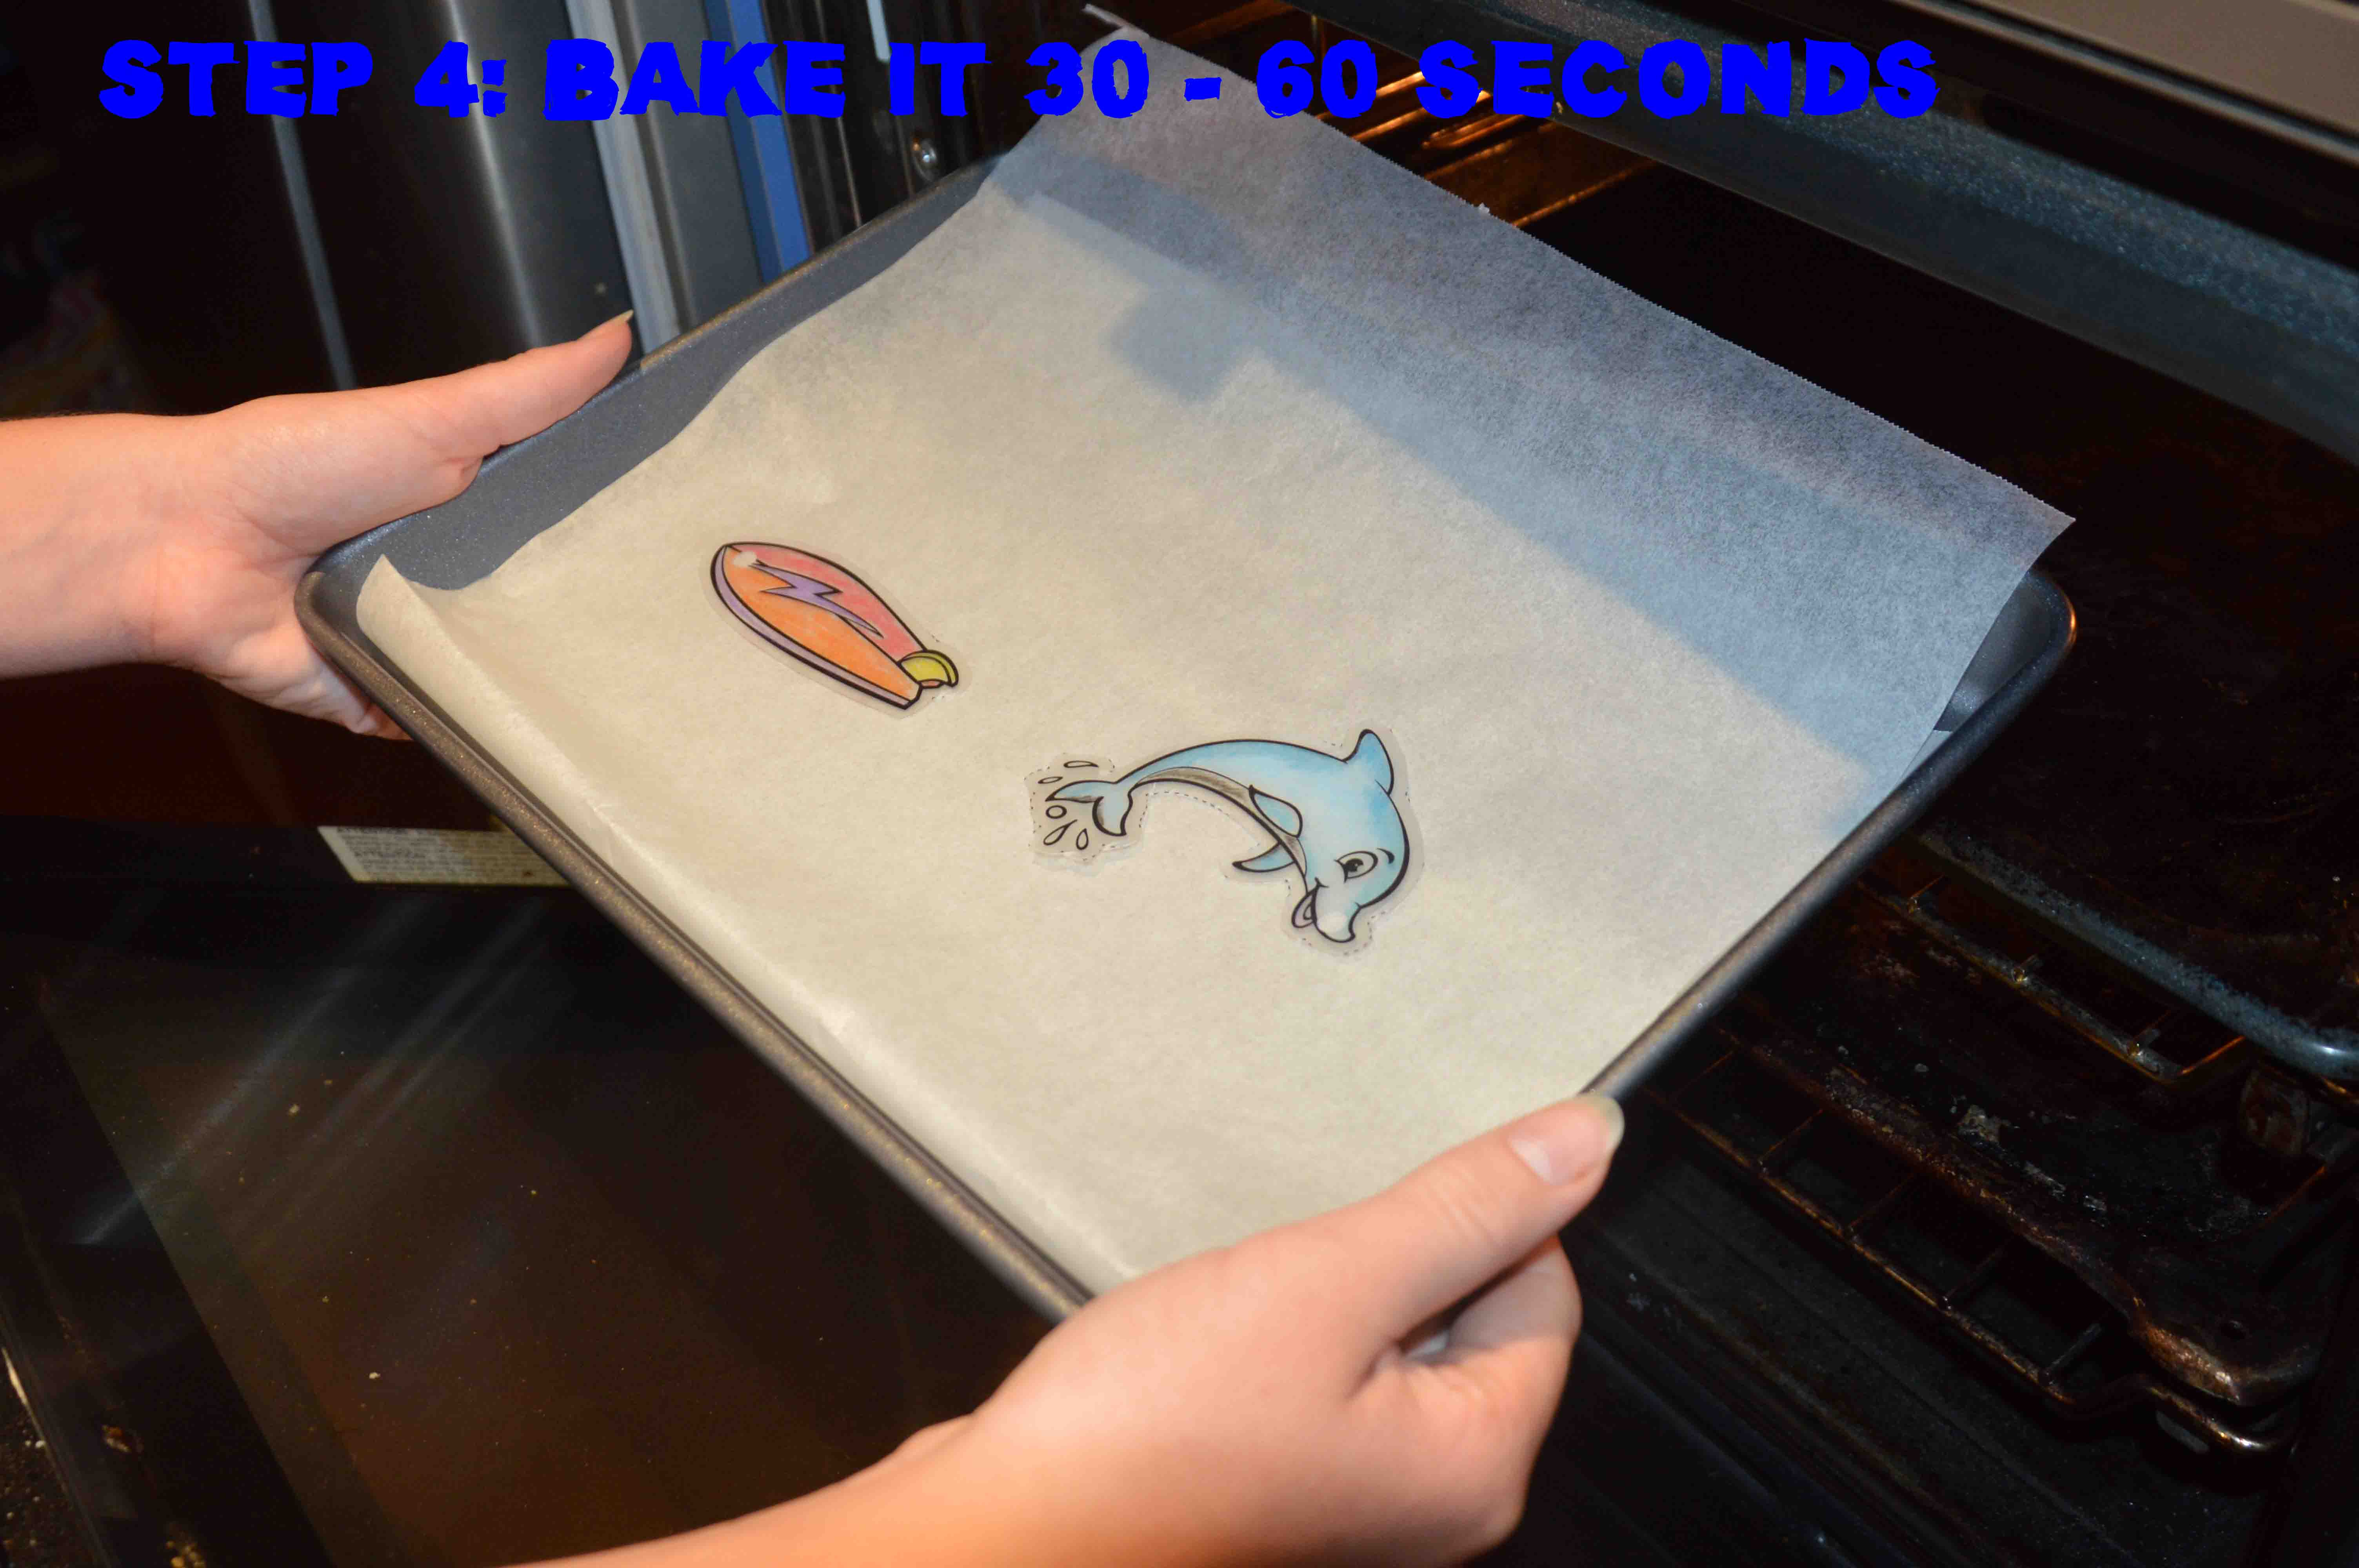
Step 4: Bake it for 30 to 60 seconds.
Step 5: Attach your key ring or string to complete your shrink art masterpiece! Great for key-rings, bag tags, necklaces, bracelets and ear-rings!
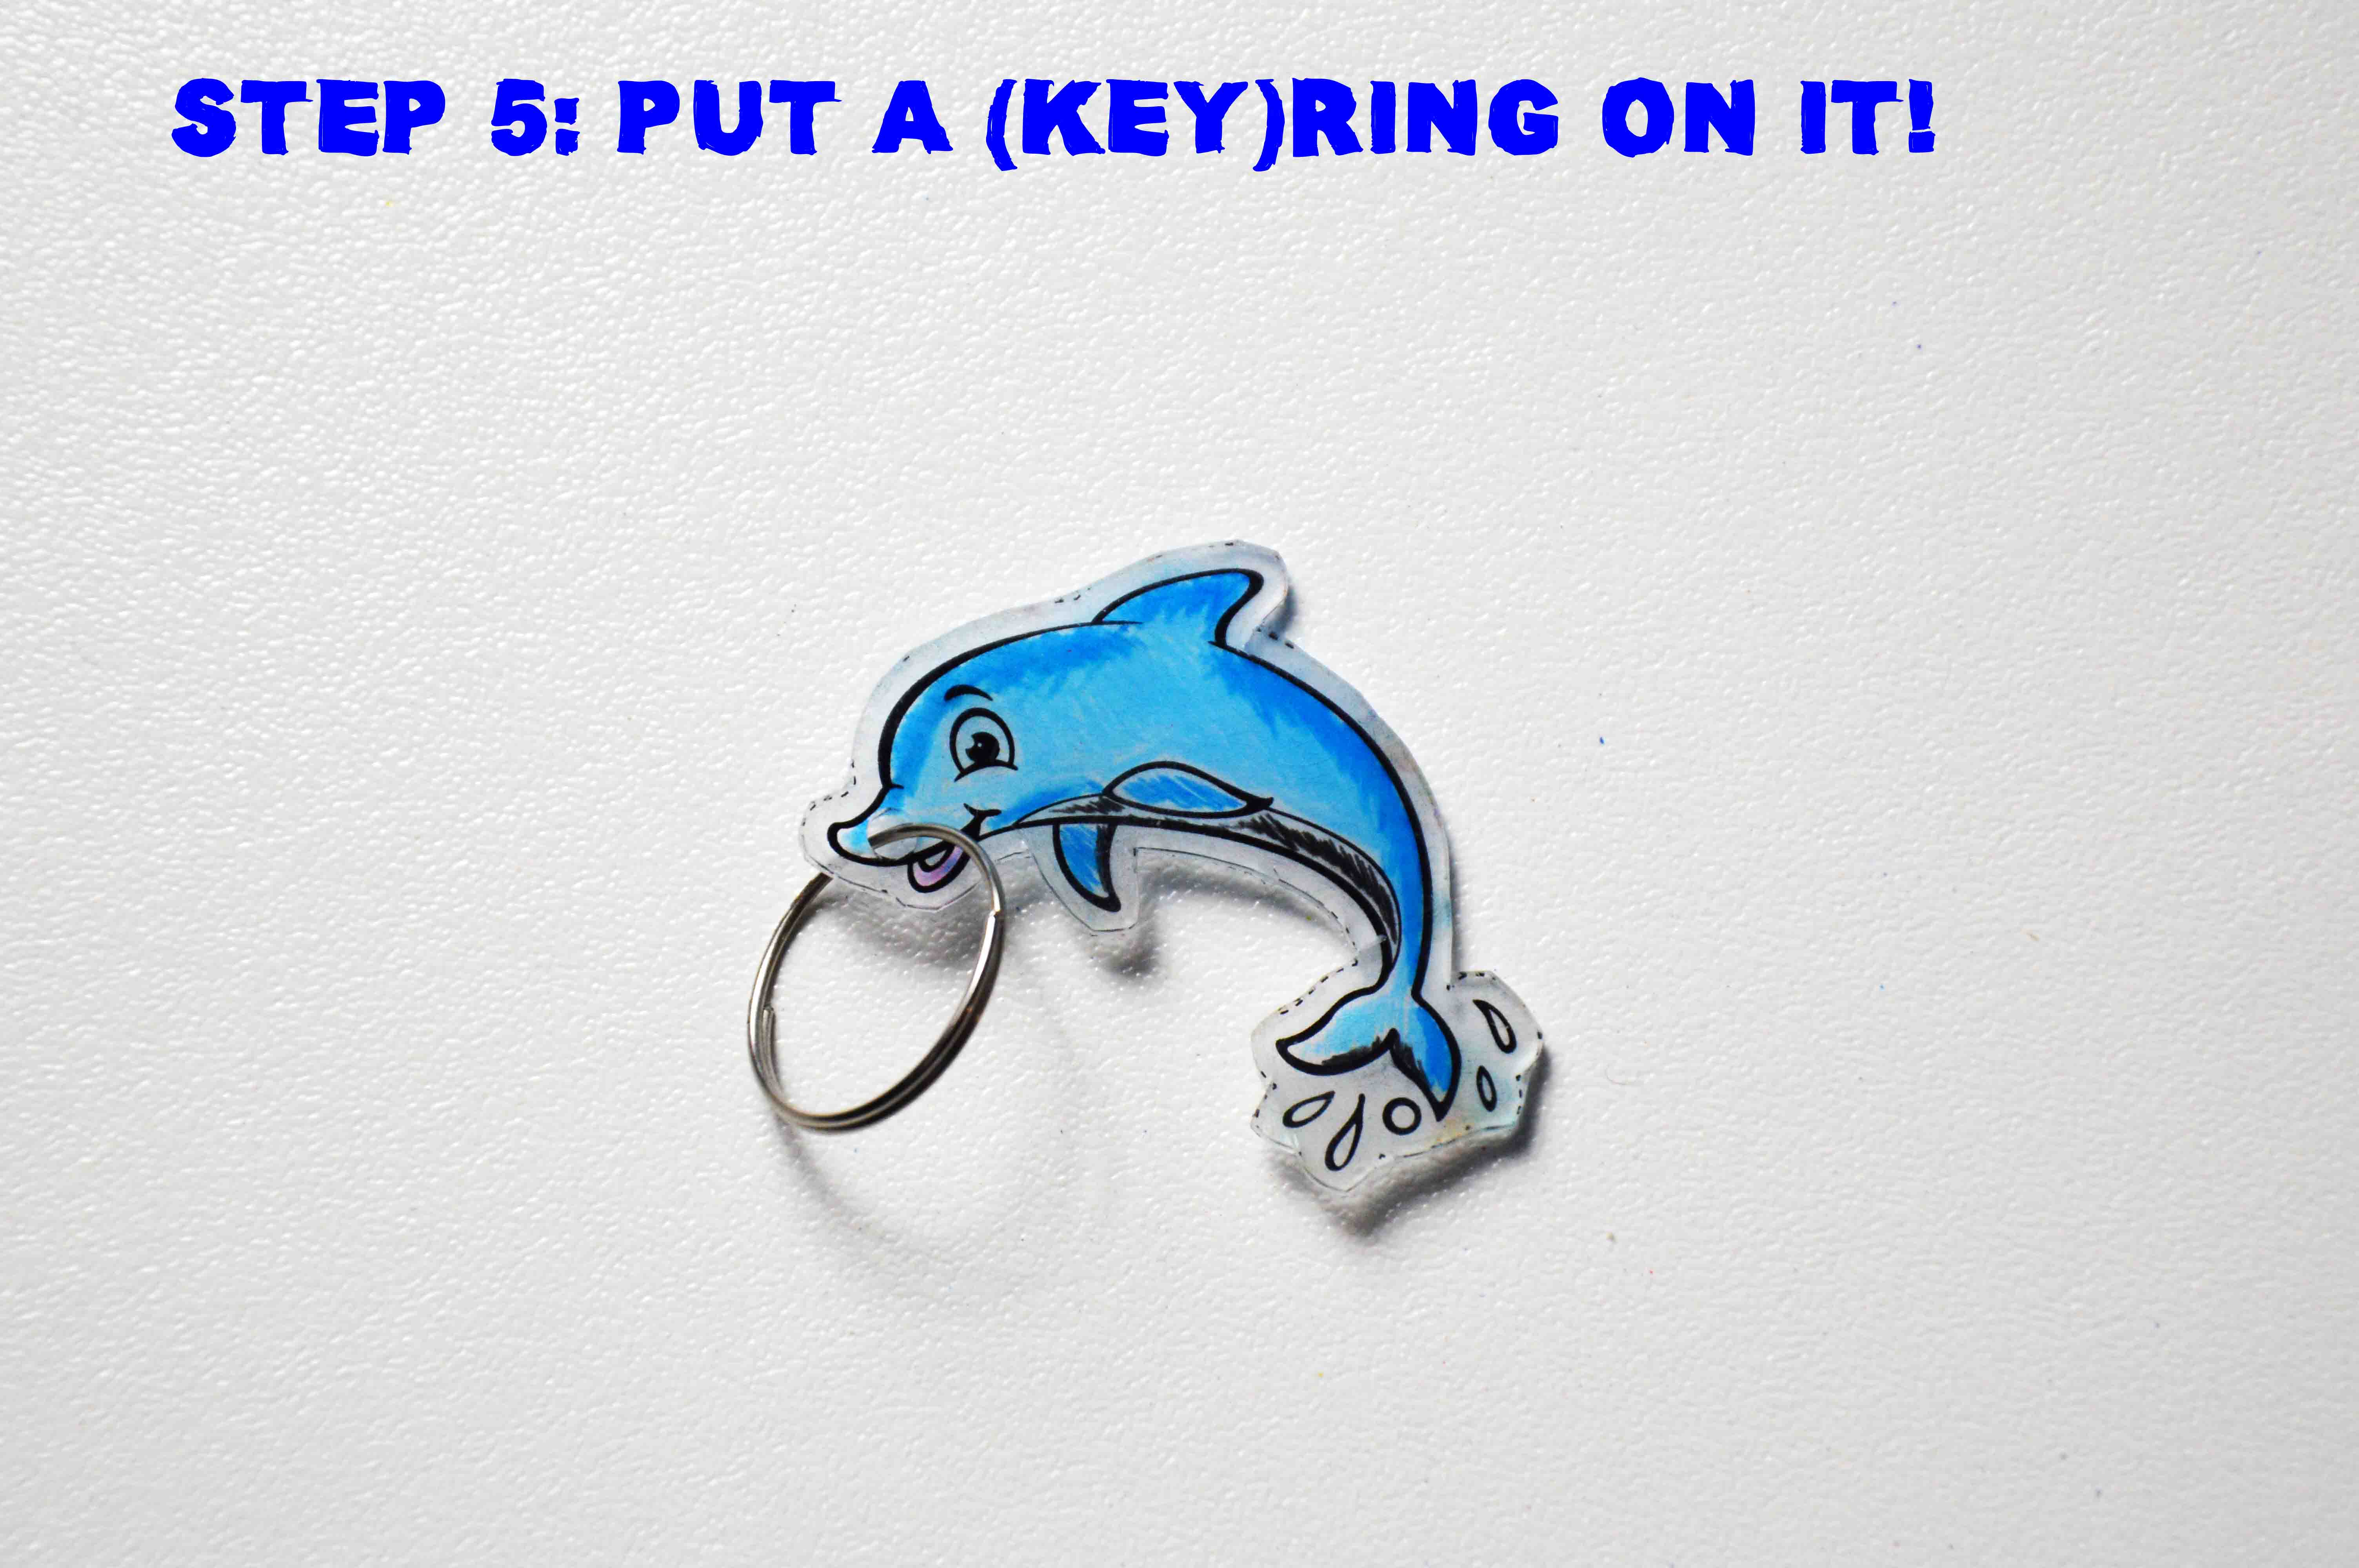
Step 5 – Put a keyring on your finished shrinky
If you loved our blog on How to do Shrinkie Dinks
If you love our Shrinky Sheets, who not check out our huge range of other Arts and Crafts, as well as Sand Art and Plaster Painting Packs.
Shrink Art
Shrink Art, (also know as shrinkies or shrinky dinks) is a fantastic arty activity for kids. Kids can draw, trace or colour a picture on the special plastic sheet then watch it magically shrink in size in the oven! The finished product is a compact piece of art to use as a keyring or bag tag. Shrinkies can be used to make patterns, animals, faces, names, letters, numbers, favourite characters and symbols, basically anything you can draw, trace or copy!

Hi do you need to preheat the oven? Thanks
Hi Nikki, yes preheat oven, it will just take a little longer if you don’t!
HOW BIG OF PICTURE DO YOU USE
Ho Joan, The sheets are A5 so anything A5 or smaller works fine – Regards, Sonia
Does it matter what side the sheet goes in oven. Rough side facing up or smooth.
Hi Lorraine, We normally put the shiny side down to go in the oven – but it doesn’t really matter 🙂
Coloured side up, which should be the rough side
Is the shrink art also good for ornaments? Or since it needs a stronger hook, is it just better for jewelry and keychains?
Shrinkies are also great for ornaments. They are very light so only needa light hook – Sonia
where do you buy the plastic?
Hi Joan, It is available online through our shop – Regards, Sonia
Hi;
How difficult is it to cut to a desired size or shape after the baking/shrinking?
After the baking/shrinking is pencil lead erasable or baked in?
Thank You for your time. Tom (-:
Hey Tom, Once the plastic has shrunk you would not be able to cut or resize it. It ends up 9 times as thick. Once baked the pencils or markers are baked in and not erasable at all. Hoping this helps you out with your questions 🙂
Hi, I would like to ask, do you draw on the rougher side or the smoother side of the plastic sheets? And what do you use to draw on them?
Thanks!
Salem
Hi Salem, With our shrinkies it is the rough side you draw on, but all shrinkie companies are different.
Hope this helps,
Sonia
Hello we tried several ways, shapes and and sizes but found that it curled too much, even pulling them out earlier and trying to straighten didn’t work. Any suggestions as to what we may be doing wrong please.
Thank you
Connie
Hi Connie, I can’t see where you have ordered this product from our website. All ovens are different and you might need to turn yours up a little more, try another 5 degrees. The shrinkies will actually curl up and then they will go flat, and that is when they are ready. We dont have any problems at all wih our product so please try these and let us know how you go 🙂 Regards, Sonia
I use a heat gun
Do you do this on a hot metal tray or cold?
It does not really matter, might take slightly longer with a cold tray, but just make sur you preheat the oven – Sonia
Mine curled up. What did I do wrong.
Hi, They will curl up and go flat when they are ready. You might need to sightly up the temperature or leave in for a little longer until they are flat – Sonia.