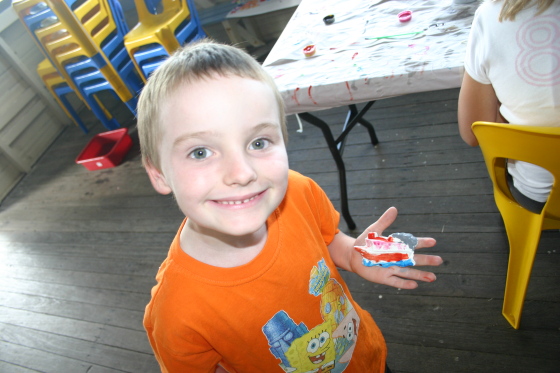
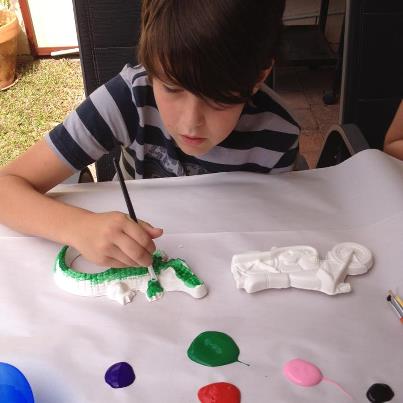
Are you looking for a fun and creative way to decorate your home or plan an unforgettable birthday party? Look no further than DIY plaster painting! Plaster painting is a fantastic activity that not only allows you to showcase your artistic skills but also brings out the hidden Picasso in people of all ages. In this blog, we will walk you through the step-by-step process of plaster painting, ensuring stunning results every single time.
PLaster and Paint
Before we dive into the tutorials, let’s talk about the basics. Plaster painting involves using plaster and paint to create beautiful and unique pieces of art. You will need some essential supplies to get started, including plaster pieces, paint, brushes, water cups, palettes, and paper towels. You can easily find plaster painting kits online at Kidsplay Crafts that contain all the necessary materials, making it convenient and hassle-free.
Step 1: Prepare your workspace for DIY PLaster Painting
First things first, you need to set up your workspace. Lay down some newspapers or a plastic tablecloth to protect your surface. Plaster painting can get messy, so it’s essential to have a designated area for this activity. If these are not available simply use Paper Plates that can be recycled after use.

Step 2: Choose your plaster pieces
Now comes the fun part – choosing your plaster pieces! Plaster pieces come in various shapes and sizes, from animals and flowers to superheroes and princesses. Select pieces that match the theme of your home decor or your birthday party. Make sure to have multiple options for everyone to pick their favourites. We have loads of different pieces available so make sure you ask us when you order if we can pack to suit.
Step 3: Prime the plaster
Before you start painting, it’s best to prime the plaster to ensure better paint adhesion. Prime your plaster pieces with a thin coat of white acrylic paint using a brush. Let the primer dry completely before moving on to the next step. This step is crucial to achieve vibrant and long-lasting colours.
Step 4: Let your creativity flow
It’s time to unleash your creativity! Set up your palette with a variety of colors and start painting. You can use acrylic paints or even watercolors for a more translucent effect. Experiment with different brush sizes and techniques to add depth and details to your plaster piece. Don’t be afraid to mix colours and try new combinations – this is where you can truly let your imagination run wild.

Step 5: Add finishing touches to your stunning results
Once you’re satisfied with the main painting, it’s time to add some finishing touches. You can use metallic paints, glitter, or even embellishments like beads and sequins to give your plaster piece that extra sparkle. Just make sure to let the paint dry completely before adding any additional elements.
Step 6: Seal the masterpiece
To ensure the longevity of your artwork, it’s crucial to seal it. Apply a clear acrylic sealer over the painted plaster using a brush or spray can. This will protect the colours from fading or chipping over time.
Step 7: Clean up and display
After completing your plaster painting, make sure to clean your brushes, palettes, and any other tools used. Once everything is tidy, it’s time to display your stunning creations proudly. You can arrange them on shelves, hang them on walls, or even create a dedicated art wall for all your plaster paintings.
Plaster Painting Kit
Plaster painting is not only a fantastic creative outlet but also an excellent activity to bond with family and friends. Whether you’re decorating your home or organising a birthday party, DIY plaster painting is sure to leave a lasting impression. Do away with Lolly Bags and give each child their own Plaster Painting Kit to take home and extend the fun. So gather your supplies, get your brushes ready, and let the plaster painting adventure begin!
If you have High School Children you can check this amazing Abstract Plaster Art and maybe it is something for the future artist in your family!

