
Are you looking for fun and creative modelling clay ideas for beginners? If yes, then you have come to the right place! Here at Kidsplay Crafts, we understand that it can be hard to know where to start when it comes to playing and experimenting with modelling clay. So, we have compiled our top 5 modelling clay ideas for beginners to help get you started. Let’s take a look at some of the ways you can use it to express your creativity. From simple to complex designs, explore the endless possibilities that await you with these phenomenal ideas for modelling clay.
ideas for modelling clay
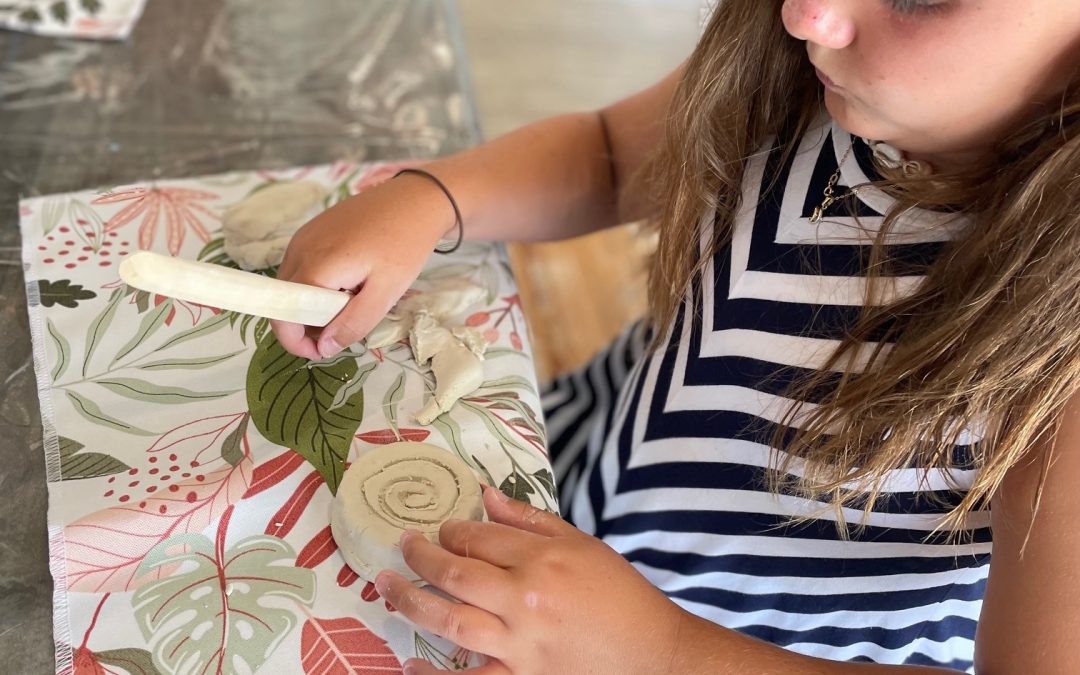
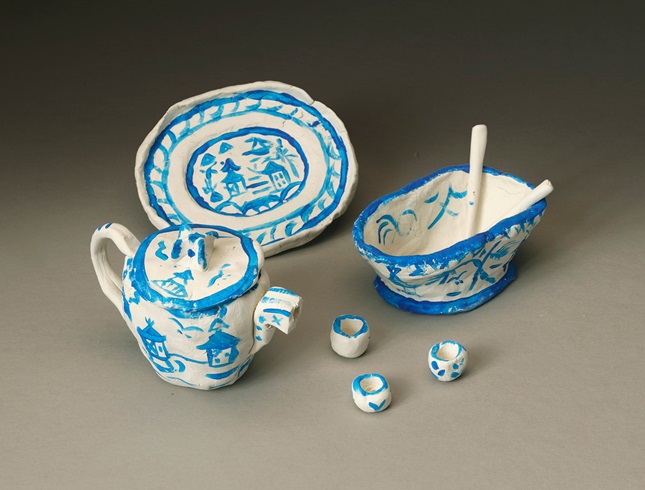
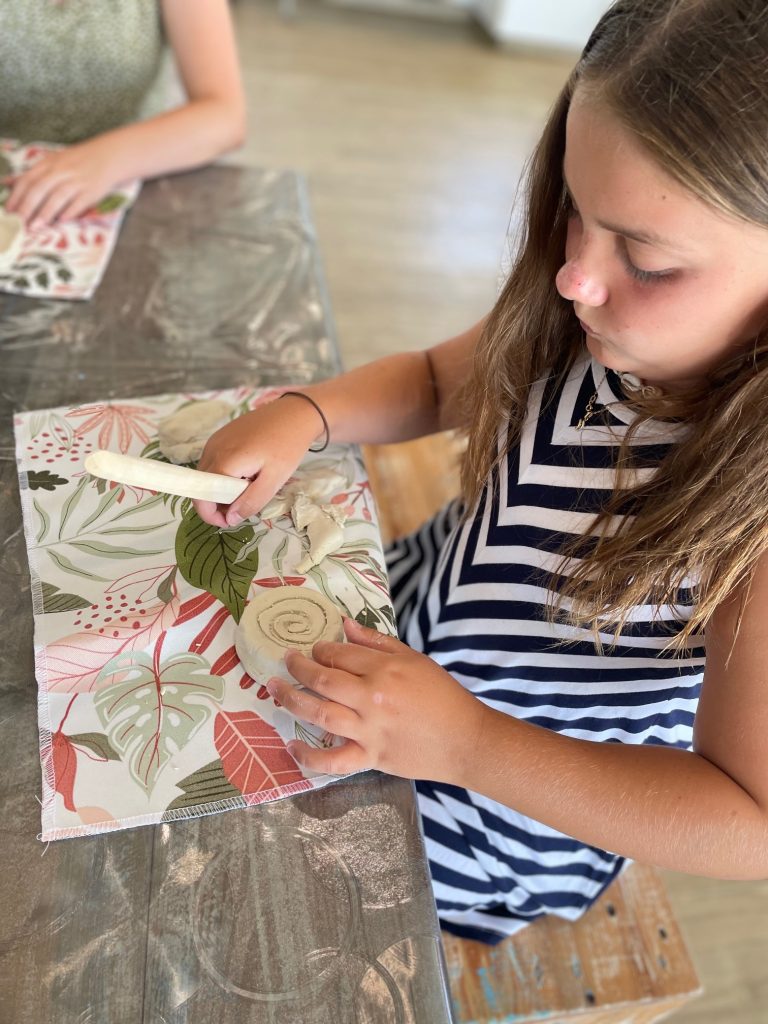
Make a Teapot and Plate
1. Begin by spreading out a piece of newspaper on a clean surface. Take a lump of clay and divide it into equal portions, before rolling them each into a small ball. To create a plate, flatten one ball into a circular shape and then press the outside with your fingertips in order to create a rim.
2. To make a bowl, vase, teapot, or cups press your thumb into the middle of a ball of clay, whilst keeping your index finger steady outside of the form. Gently pinch and shape the clay until you are pleased with the result. To add handles or a spout to your creation, roll small, snake-like shapes before attaching them to the pot.
3. Perfect the surface of the clay sculptures by lightly dampening it with your fingers. Then leave the clay to air dry between 2-5 days.
4. When the sculptures are dry, they can then be decorated in designs with Acrylic Paint and Brushes.
5. Finally, the sculptures can be dipped in a sealer in order to give them a glossy finish.
clay model ideas for beginners
Make an Incense Holder
- Shape your Air Dry Clay into a weighty circle.
- Decorate the top using Clay Tools
- Make a small ball and scratch the bottom and the area you are joining it to, wet both areas and join together
- Make a hole in the top of the ball for the Incense stick to go in
- Air Dry the Clay for a few days and Paint with Acrylic Paint and glue on sequins with PVA glue.
modeling clay ideas
Make A Clay Star Christmas Decoration
Have you ever heard of an astonishingly straightforward way to create ornamental filigree-style decorations? These works of art are perfect for window hanging, as a pendant necklace, or for a special present that will be cherished! This is one of our Our Top 5 Modelling Clay Ideas for Beginners.
For centuries, artisans have been creating unique pieces of art out of fabric lace and metal filigree.
Today, creating your own delicate and beautiful lacy ornament or pendant is easier than ever.
- Start by taking a Ping-Pong ball sized piece of Crayola Air-Dry Clay and combine it with a small amount of water, then mix it in a plastic sandwich bag. Close the bag and knead it until the mixture is thick like pudding.
- Cut off a tiny corner of the bag, and squeeze the clay mix onto waxed paper or baking paper in strands that overlap each other. Air-dry the ornament for one or two days.
- To bring the ornament to life, spread newspapers over your area and paint the lace with Acrylic Paint in regular shades or gold and silver for extra special effects.
- While the paint dries, decorate the ornament with Glitter Glue and let it air-dry.
- When it’s finished, tie on a colourful ribbon and hang or wear your unique creation.

air dry modeling clay ideas
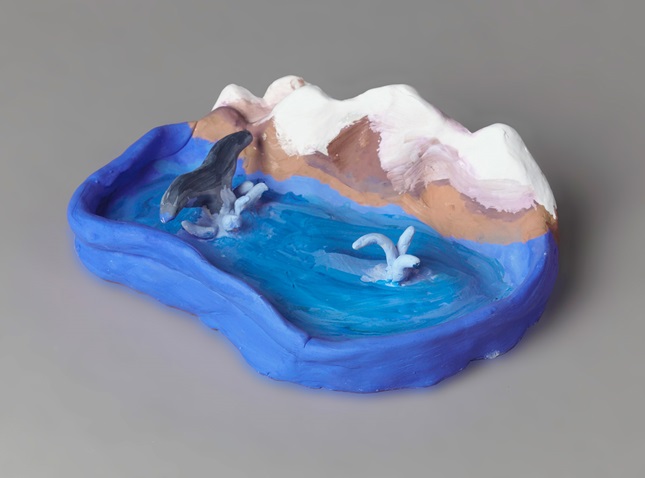
Whale Sculpture
HumpBack Whales are the loudest animals on the planet; their songs can be heard from a mile away. The challenge here is to craft a unique and detailed model of a HumpBack Whale that actually sings the creature’s songs!
- Start by rolling a chunk of Crayola Air-Dry Clay with a rolling pin and shaping it into an ocean-like base. Cut the edges to give it a smooth finish, then add a lip by rolling more clay into a coil and attaching it to the edge of the base. Moisten the pieces if necessary.
- Create a design by cutting out mountain ranges, islands, glaciers, or other background from more clay. Use a modeling tool, craft stick, clay stylus, or your finger to add texture. Attach the pieces to the edge of the base and form a whale’s tail.
- Paint the mountains, ocean, and whale with Acrylic Paint using a brush. Gently apply the colour on the wet clay, then air-dry the first coat before adding a second one for a deeper colour. Allow the sculpture to air-dry for at least 3 days.
- Finish off your work with misty splashes coming from the whale’s blowhole as the final touch!
air dry clay model ideas
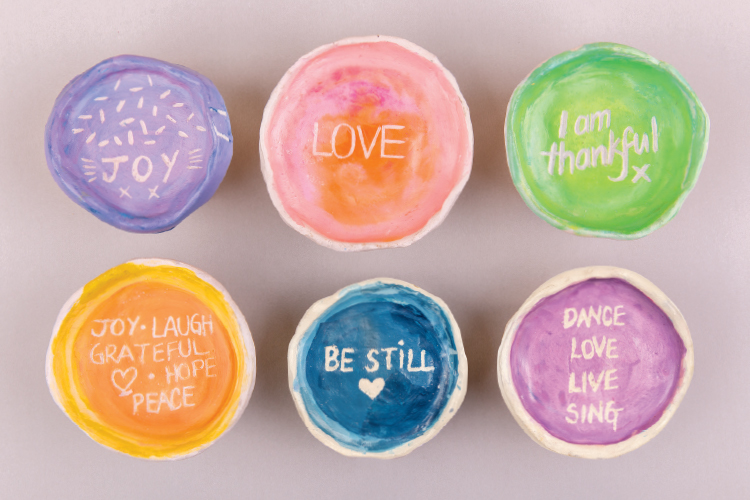
Gratitude Bowl or Dish
Do you need a Gratitude Bowl? Every single day, I remind myself to stay in the present, to express my appreciation for all that is around me and to maintain optimistic thoughts. These keepsakes that I have gathered throughout the years act as a physical reminder to continue focusing on the positive things in my life.
Here is how to make one using Air Dry Clay.
- Start with a lump of clay and roll into a ball. Carefully flatten the clay until it is 1cm thick and form into a circle. Use your finger to carefully press around the rim, creating a small lip, to create a bowl. Take extra caution not to pinch the clay too thin so that the bowl is strong and durable.
- After it is ready, leave the bowl to dry for 2 days before the decoration process.
- To decorate the bowl using a sgraffito effect, get started with paint by using a paint wash or go for something colourful with Poster paints.
- Draw a design or pattern onto the bowl, creating a fun and unique style. Once the paint is completely dry, take a skewer and start scratching into the paint to reveal the natural clay underneath. If desired, add a special touch by writing a meaningful message, affirmation or saying inside the bowl, such as ‘hope,’ ‘be present,’ or ‘laugh.’
- After this, glaze the inside with an acrylic sealer and let dry.
- If you want to go for a different option, instead of Poster paints use Posca Markers. To add extra decoration, add a thin coat of glitter to the bowl and leave to dry for another 2 days before adding the Acrylic Sealer.
Surface Ideas for Ceramics can also be used.
