
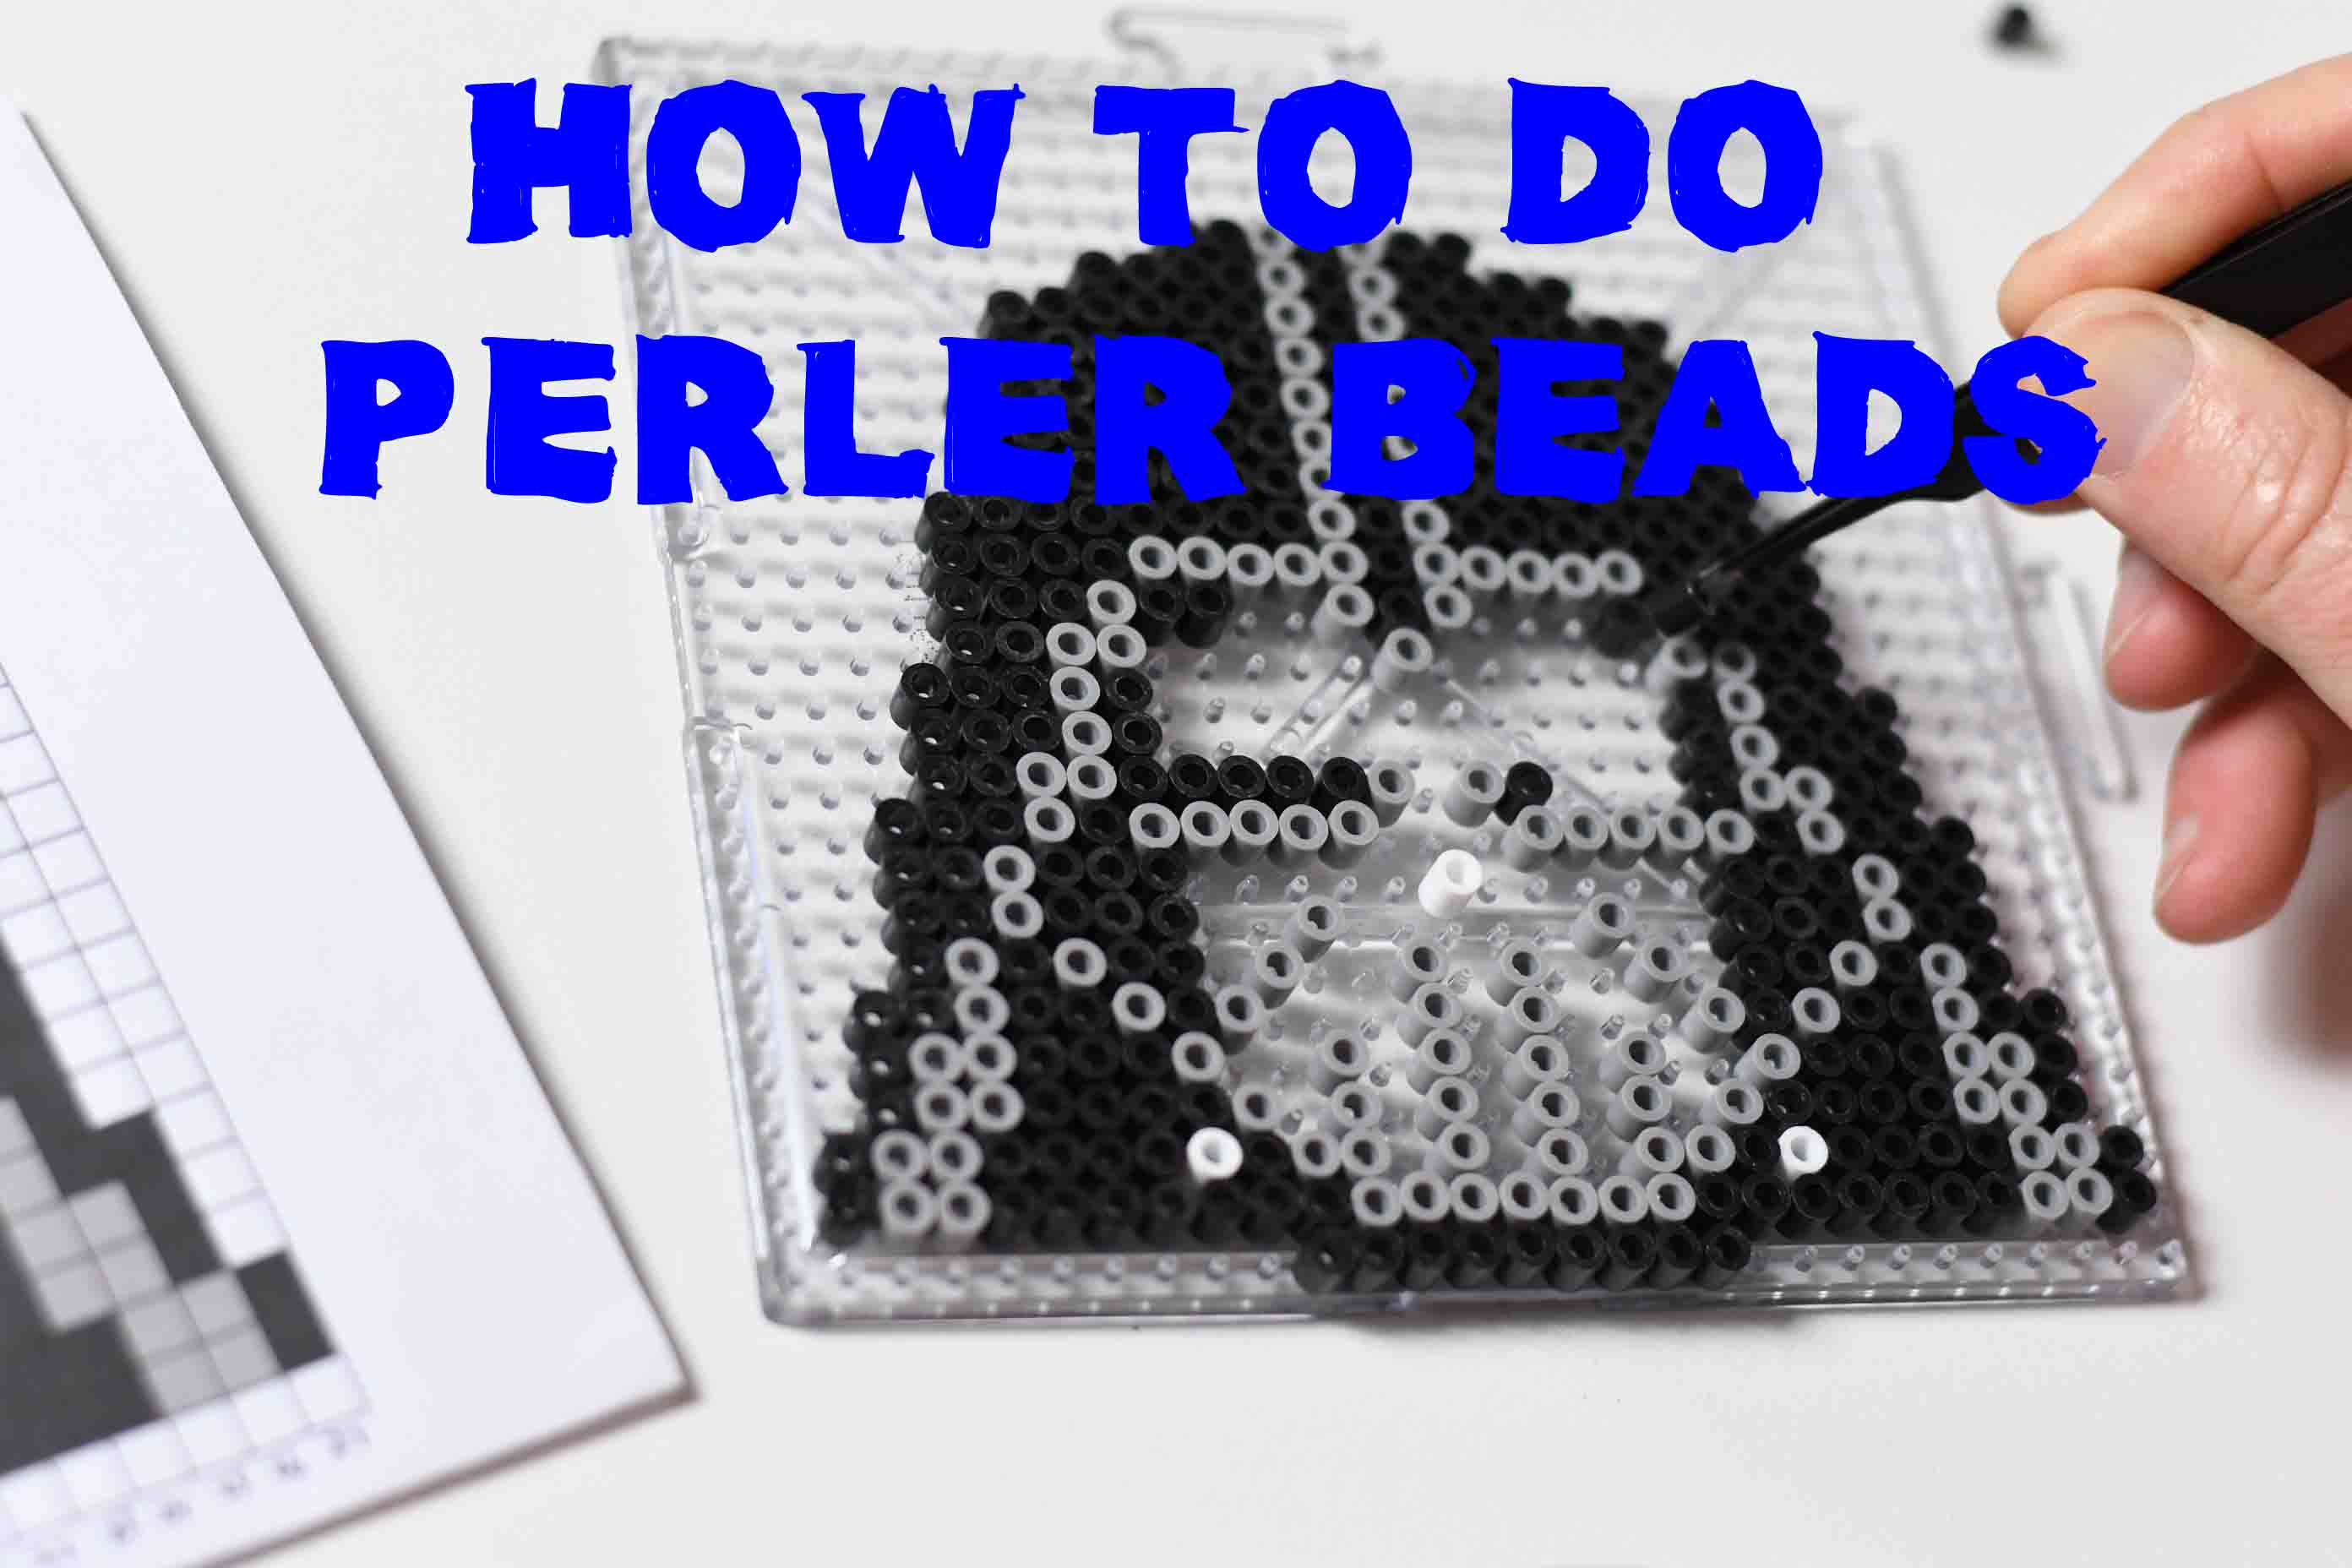
what are perler beads ?
What are Perler Beads? How do you do Perler beads? Perler Beads are small, heat activated beads that you can lay out on pegboards to create interesting and amazing pixel style art! Here’s our easy 8 step instructions on how to complete a Perler Bead design!
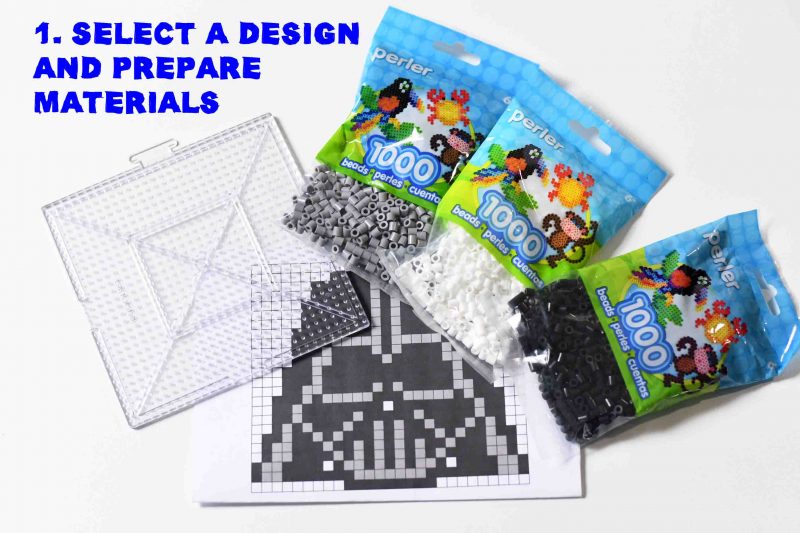
Select a design
Get organised! Select a design! A simple web search will uncover many ideas or pick up an official Perler pattern pad. Select your bead colours and get ready to go! Find a clean, quiet desk or table to work in.
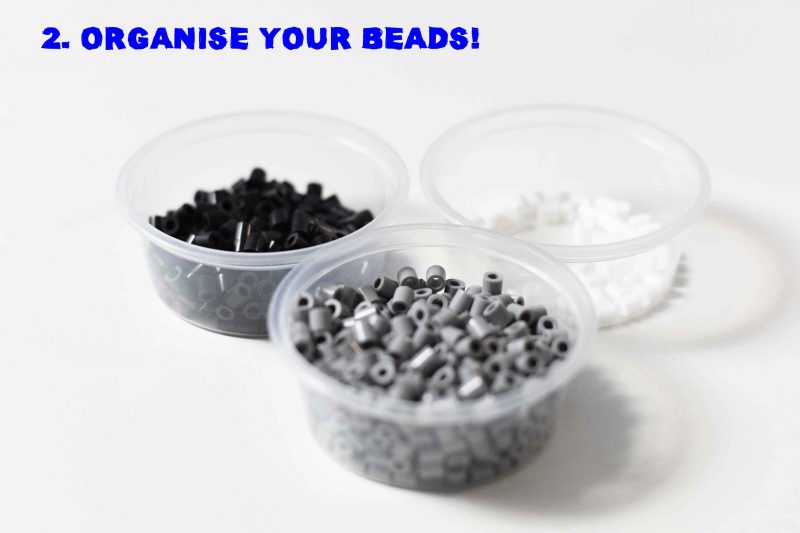
Organise your beads
Organise your Perler beads
Make sure to separate beads into bowls or containers. You may even have a box with multiple compartments to keep your colours organised. Ideally keep each colour well away from each other so you don’t mix them up.

Plan your design
Plan your design, working out what edge to start from and count across to make sure you have enough width and height to fit on the pegboard. We number each column up and across to make it a little easier.
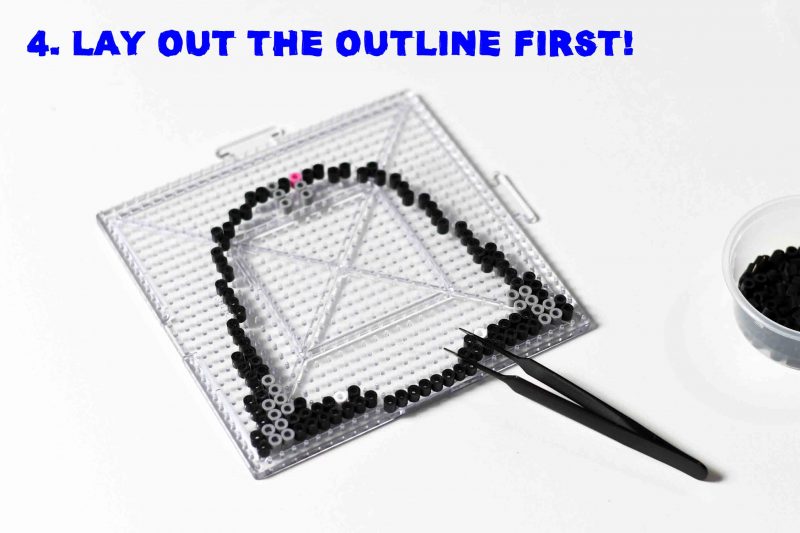
Step 4 : Do the outline first
outline first
We generally think starting with the outline and working your way in is the easiest way to start your Perler project. Try counting from each side and cross reference both ways. Double checking will make sure you pick up a mistake early.
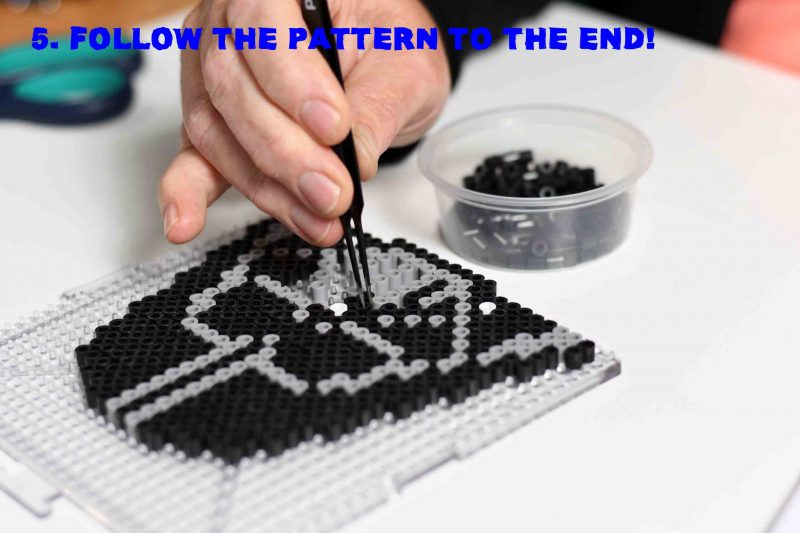
5. Complete the Perler bead pattern!
Complete your Perler bead design
Using your fingers is usually tough work so use bead tweezers (or even a bead pen) to make the job easier. In the photo above we’ve actually used ‘finer’ sized mini bead tweezers.
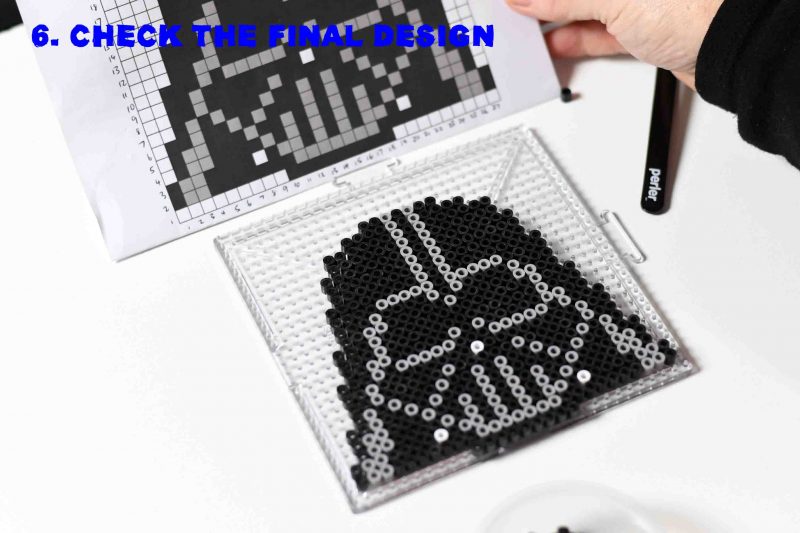
Check the final Perler design against the pattern
In our our Darth Vader design above it was important to make sure the design was evenly matched on both sides and that the grey and white beads were placed correctly. There’s nothing worse than realising after you’ve ironed your artwork that you’ve done something wrong!
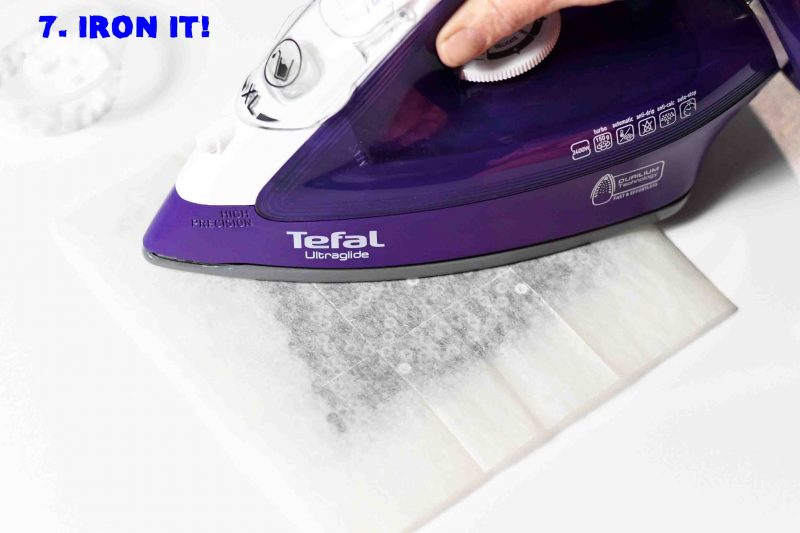
7. Iron your Perler design using Perler ironing paper.
Iron your Perler design
Ensure your iron is preheated to medium heat and remember to disable the steam function. While your beads remain on the pegboard, place Perler Ironing Paper over them and apply even heat with the iron for 15-30 seconds.
Check the melting progress to achieve your desired outcome—some crafters prefer fully melted beads for a seamless finish, while others opt for a softer, textured look.
Since irons vary in performance, it’s advisable to conduct test runs to determine the ideal melting time for your project.
In the event that you run out of Perler ironing paper be very careful of cheap substitutes. Once one side is ironed, flip the project over and repeat the process on the opposite side.
To ensure a flat and polished finish, place a book or a similar heavy object over the project while it cools. This step helps prevent warping of the pegboard and enhances the overall quality of your Perler Beads creation.
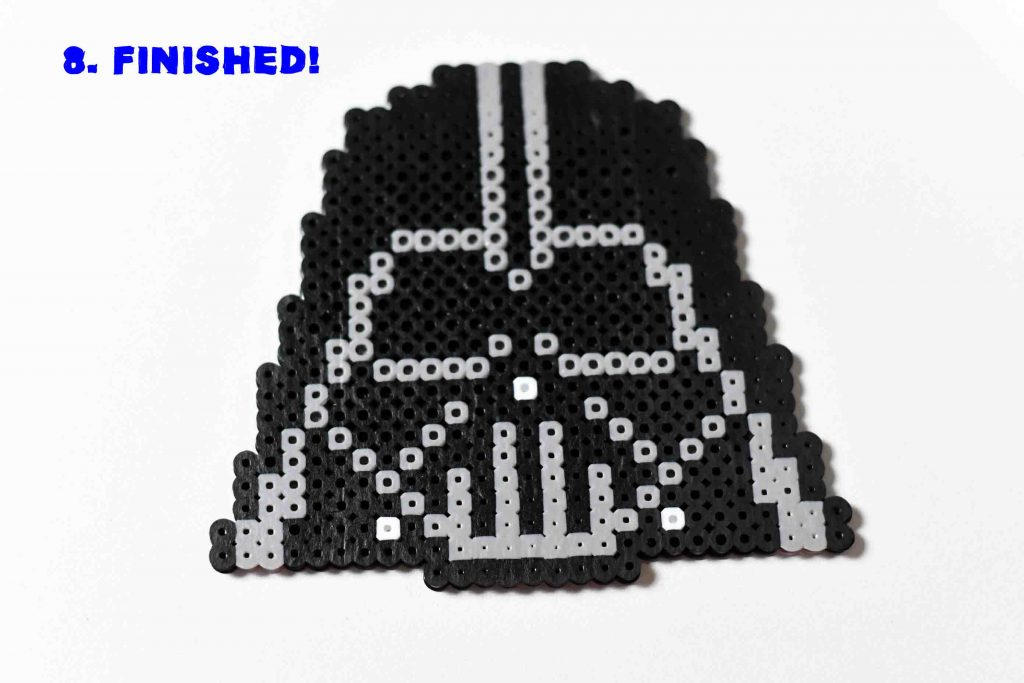
8. You’re finished!
You’re finished
That wasn’t hard was it? Your completed artwork is ready to place on the wall or hang from somewhere special!
