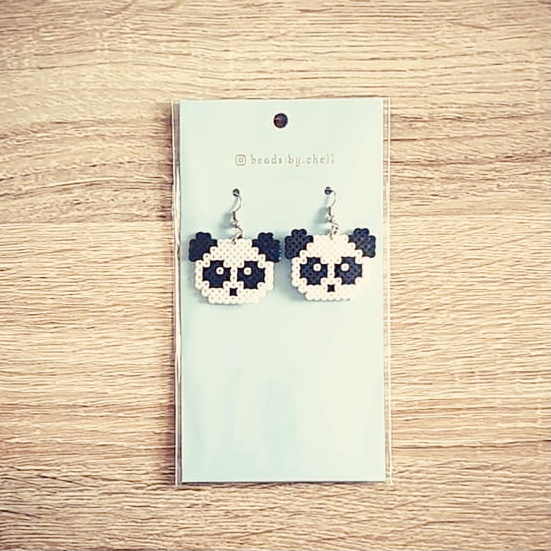
Are you ready to add a touch of creativity to your accessories collection? In this blog post, we will dive into the world of crafting your own Perler Bead Earrings with the help of our friend Chell’s 6 easy steps. Using Mini Bead Tweezers as a handy tool and 2.5mm Mini Perler Beads, you can create unique and colourful earrings that will be sure to turn heads. With the addition of Shepherd Hooks and Jump Rings, you’ll have all the essentials to bring Chell’s easy Perler Bead Earring tutorial to life. Let’s explore the steps together and unleash your inner artist!
- Use MINI 2.5mm Perler beads (instead of MIDI 5mm)
- Make sure the compled size is the size you like – not too big or not too small
- Use tweezers to place mini beads on the pegboard
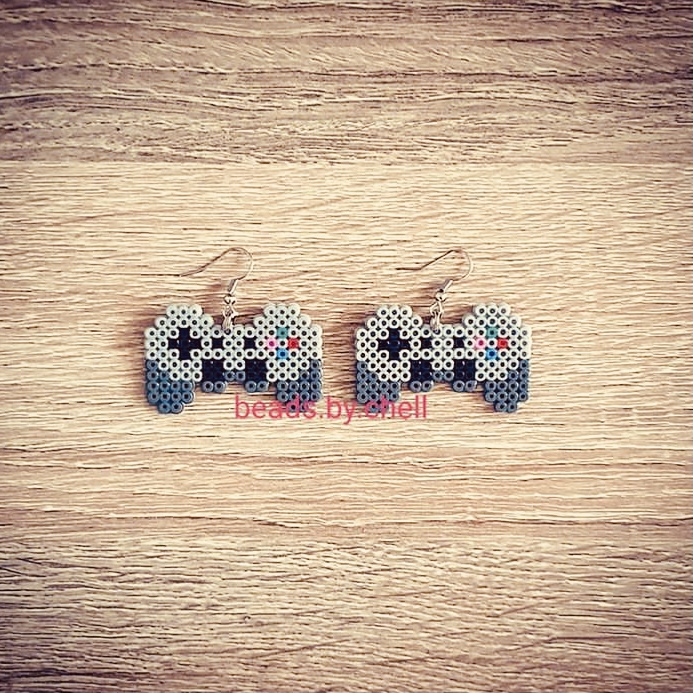
- Fully melt one side of the beads to make sure the design holds together.
- You can either fully melt, semi melt or lightly melt the other side depends on your preference
- Attach the earring hooks to the beads
You’re ready to show off your Perler Beads Earrings now !
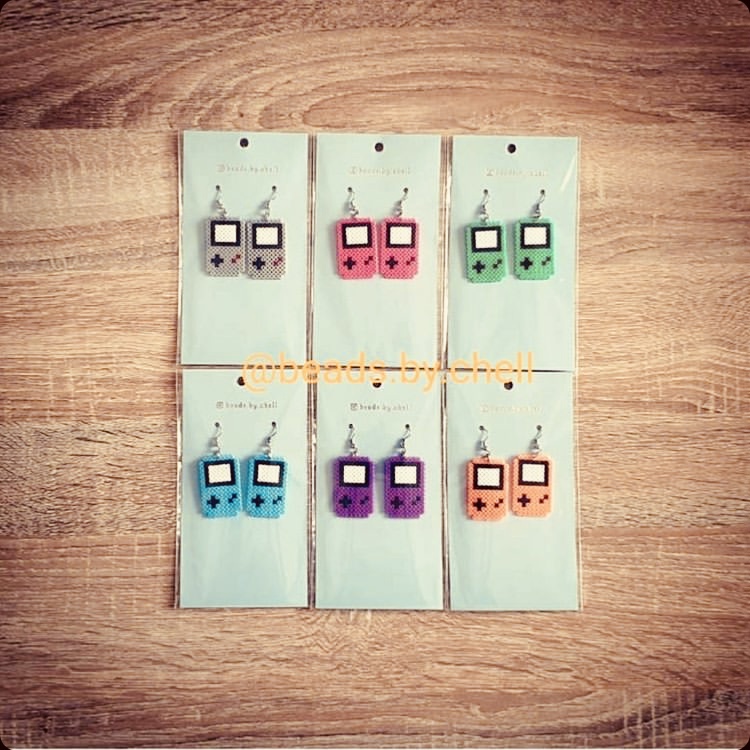
Chell is a Perler Bead artist and is one of our guest bloggers.
Make sure you follow Chell on Instagram for some inspiration and loads of ideas!
Beads.by.chell